A new sink can brighten up the work area in your kitchen, and it’s a good project to do in conjunction with a faucet replacement. Here, we’ll show you how to install a basic, self-rimming, surface mount stainless steel sink. This project requires some moderate do-it-yourself skills, but it can be completed in an afternoon.
A new sink can brighten up the work area in the kitchen, and it’s a a good project to do in conjunction with a faucet replacement. The project requires some moderate do-it-yourself skills, but it can be completed in an afternoon.
Here, I’ll show you how to install a basic, self-rimming, surface mount stainless steel sink. As you get started in this project, you can find all of the tools, as well as the advice you’ll need, at your local independent home improvement retailer. To avoid having to cut a larger sized hold in your counter, make sure the new sink is the same size as the old sink. If you’re also installing a new faucet, be sure to see our video “Replacing a Faucet.”
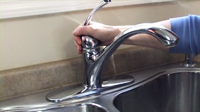
First, we’ll remove the old sink. Turn off the water by turning off the shut-off valves under the sink, and opening up the faucet to relieve the water pressure.
Next disconnect the water supply lines at the shut-off valves and remove anything else connected to the sink, such as the faucet and garbage disposer.
To disconnect the drain and gasket, remove the slip nut and gasket that attaches the drain assembly to the drain that comes out of the floor and also the tailpiece coming from the sink.
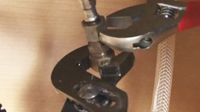
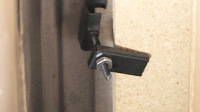
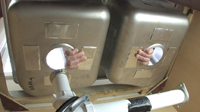
The next task is to take out the sink. Underneath the rim of the sink are clamps with screws that hold the sink in place. Loosen the clamp and twist them to the side.
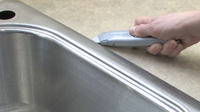
You’ll also need to score underneath the rim of the sink with a blade knife to free it from any caulk or adhesive.
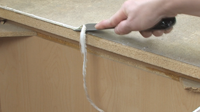
Carefully lift out the old sink. You may need some help with this step of the project. There will likely be caulk along the edge. Be sure to clean this off with a putty knife, but be careful not to scratch the countertop. When the sink is removed, remove all of the old caulk so that the edge around the hole where the sink will go is clean.
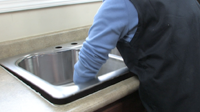
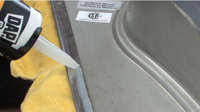
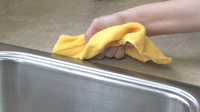
Now turn the sink upside down and run a bead of silicone caulk around the outer edge of the sink. Carefully turn the sink over and place it in the hole. Some of the caulk should seep out the edge between the sink and the countertop. Wipe this clean with a rag.
Underneath the sink, attach the clamps or any other hardware that may have come with the sink.
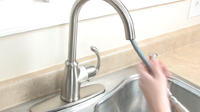
Once the sink is securely in place, finish installing the faucet by reattaching the supply lines to where they hook up to the shut-off valves.
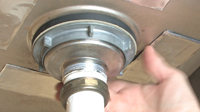
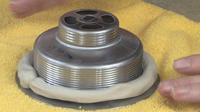
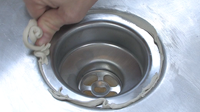
Next, hook up the sink strainer. Since you’re installing a new sink, you might also want a new strainer assembly. To do this, roll a bead of plumber’s putty to a medium sized bead and press it around the edge of the drain assembly flange.
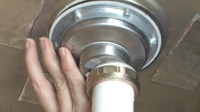
Drop in the sink strainer, then tighten using the washers and nut provided with the assembly. Trim away any plumber’s putty that squeezes out.
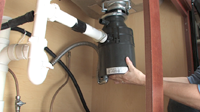
Attach the garbage disposer flange in the same way, if you have one. Finish installing the garbage disposer and reconnect the electricity.
With strainer assembly in place, attach the tailpiece then attach the rest of the drain assembly, including the trap. Tighten all connections and link them into the garbage disposer, if you have one.
Now you’re ready to test it. Turn on the water to the faucet, and run the water in each sink to make sure all of the drain connections are sealed properly. It’s also a good idea to check back frequently the first few hours after installation to make sure nothing is leaking.
If you have questions about this or any other home improvement project, be sure to read our list of Frequently Asked Questions for this video. And be sure to print out our Project Instructions, which includes a Tools and Materials checklist, before visiting your local independent home improvement retailer. That’s where you’ll find all the products and helpful advice to complete your project. If you’re not sure where to find your local store, check out our Store Locator.
Good luck with your project and thanks for watching!
